DIY Nutmeg Spice Candles and Wax Melts: Warm Kitchen Scents in Wax
There is something deeply satisfying about a kitchen that smells like it has been baking all afternoon, even when the oven is cold. Nutmeg has anchored that warm, spiced atmosphere for centuries, and now it is remarkably easy to capture that quality in handmade candles and wax melts. This guide walks you through two companion recipes: a soy wax container candle and a set of wax melts, both built around nutmeg fragrance oil and a handful of complementary spice notes.
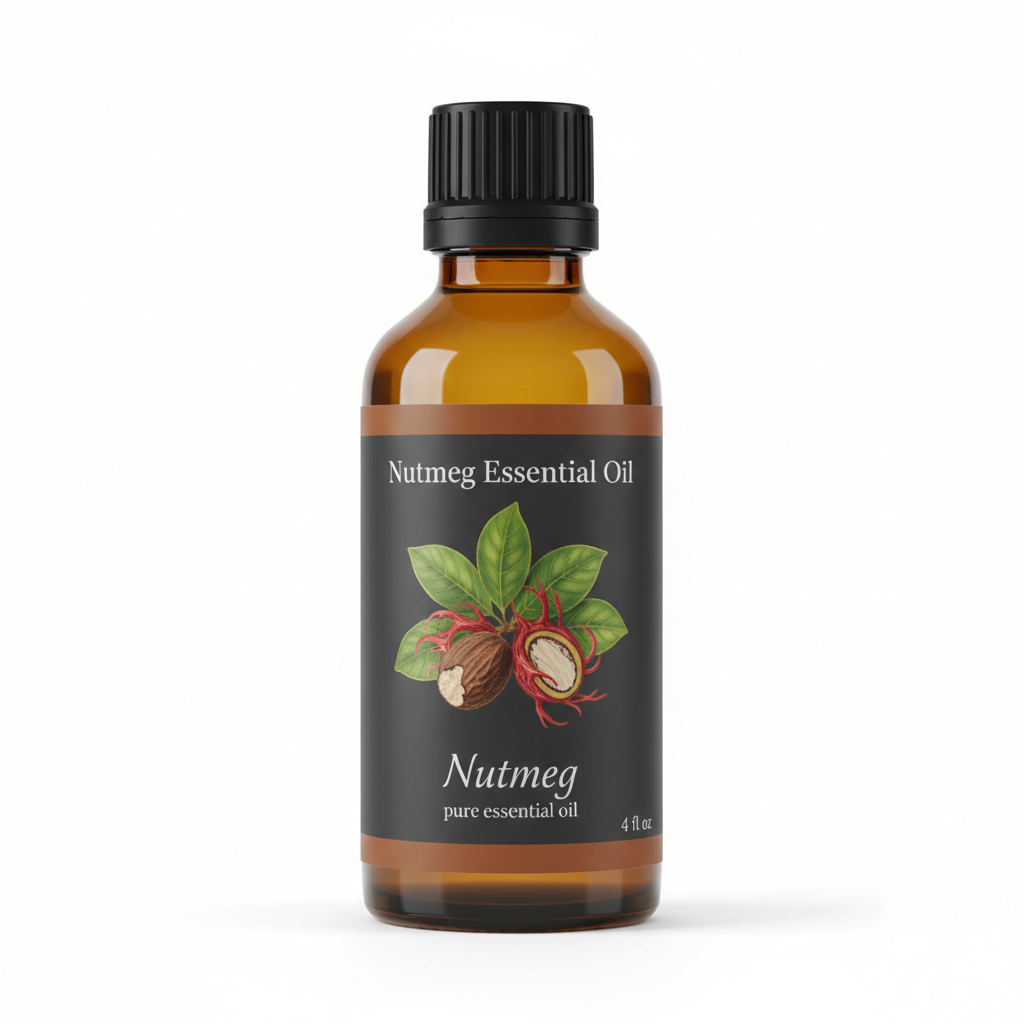
Nutmeg Essential Oil
Our own Nutmeg Essential Oil, in sizes from 0.5 oz to bulk.
From $10.99
Shop Now →If you are new to candle making, these projects sit at a beginner-to-intermediate level. The techniques are forgiving, the ingredients are widely available, and the results are genuinely impressive. A finished batch of nutmeg spice candles also makes a thoughtful handmade gift during autumn and winter months.
Before You Begin: Safety Overview
Candle making involves hot wax and open flame. Read this section fully before starting.
- Hot wax burns skin. Always use a dedicated pouring pitcher and heat-resistant gloves when handling melted wax above 150°F (65°C).
- Essential oil flash points matter. Nutmeg essential oil has a flash point around 122°F to 130°F (50°C to 54°C). Never add essential oil to wax that is hotter than 10 to 15 degrees below its flash point. Adding fragrance at or above flash point is a fire hazard.
- Fragrance load limits. For soy wax, the standard maximum fragrance load is 10% by weight. Exceeding this can cause poor scent throw, sweating, or fire risk. This recipe stays at 8% for safe, reliable performance.
- Skin contact warning. Wax melts and the wax surface of candles are not skin-care products. Do not apply melted wax to skin. The nutmeg fragrance oil used here is formulated for wax, not cosmetic use.
- Ventilation. Work in a well-ventilated space. Fragrance oils and essential oils release volatile compounds when heated. Open a window or run an exhaust fan.
- Pregnancy and sensitivities. Strong spice fragrances may be overwhelming in enclosed spaces for people with sensitivities to scent. Keep finished candles out of reach of children and pets, and never leave a burning candle unattended.
- Fire safety basics. Keep a fire extinguisher nearby. Never use water on a wax fire. If wax ignites, smother the flame or use a dry chemical extinguisher.
Equipment You Will Need
- Double boiler or a heat-safe pouring pitcher set in a pot of water
- Digital kitchen scale (accuracy is essential in candle making)
- Candy or candle thermometer
- Heat-resistant silicone spatula or wooden stir stick
- Heat-resistant pouring pitcher (stainless steel or high-temp plastic)
- Wick centering bars or pencils (two per candle)
- Wax melt silicone mold (clamshell style or individual cavity molds)
- 4 to 6 amber glass or tin container jars (8-ounce size recommended)
- Wick stickers or a small dab of hot glue to anchor wicks
- Paper towels and rubbing alcohol for cleanup
Recipe 1: Nutmeg Spice Soy Container Candle
Difficulty: Beginner to Intermediate
Prep and pour time: 45 minutes active, plus 24 hours curing
Yield: Approximately four 8-ounce candles
Ingredients
| Ingredient | Amount | Notes |
|---|---|---|
| Soy wax flakes (container-grade, e.g., Golden Brands 464) | 28 oz (794 g) | Container-grade soy has a lower melt point than pillar wax; do not substitute pillar wax without adjusting ratios |
| Nutmeg fragrance oil (cosmetic or candle-grade) | 1.5 oz (42 g) | Approximately 5% of total weight; see variation notes for adding essential oil |
| Warm spice blend fragrance oil (optional booster) | 0.75 oz (21 g) | Cinnamon-vanilla or chai-spice blend works well |
| Pre-tabbed cotton wicks, CD or ECO series | 4 wicks | Wick size depends on your jar diameter; test before committing to a full batch |
| Candle dye chips, amber or ivory (optional) | 1 to 2 chips | Skip for a natural off-white look |
Step-by-Step Instructions
- Prepare your containers. Clean and dry your glass jars completely. Stick a wick tab to the bottom center of each jar using a wick sticker or a tiny drop of hot glue. Allow to set for five minutes before moving on.
- Measure your wax. Place your pouring pitcher on the scale and tare to zero. Add 28 ounces of soy wax flakes. Accuracy here affects your fragrance percentage directly.
- Melt the wax. Set the pitcher in a pot of simmering water (double boiler method) or use a dedicated wax melter. Heat gently until the wax reaches 185°F (85°C), stirring occasionally. Do not rush this with direct high heat.
- Add dye (optional). Once fully melted, drop in a dye chip and stir for one full minute until completely incorporated and streak-free.
- Cool to fragrance temperature. Remove from heat and allow the wax to cool to 165°F (74°C). This is a critical step. Adding your nutmeg fragrance oil above this temperature risks scent fade and exceeds safe handling range relative to flash point.
- Add fragrance oils. Pour in the nutmeg fragrance oil and optional spice blend. Stir slowly and steadily for two full minutes. This ensures even distribution throughout the wax rather than fragrance pooling at the bottom.
- Pour at the right temperature. Allow the wax to cool a bit further to 135°F to 145°F (57°C to 63°C) before pouring. This temperature range produces a smoother top surface in soy wax.
- Pour into jars. Hold your wicks upright using centering bars or two pencils resting across the jar rim. Pour the wax slowly to avoid air bubbles. Leave about half an inch of space at the top of each jar.
- Allow to cool undisturbed. Do not move the jars for at least four hours. Soy wax can develop sinkholes as it cools. If sinkholes form, do a second small pour of leftover wax (reheated to 165°F) to fill them in.
- Cure before burning. Allow candles to cure for a minimum of 48 hours before the first burn, ideally 72 hours. Curing lets the fragrance oil fully bind with the wax for better scent throw.
- Trim wicks. Before the first burn, trim wicks to one-quarter inch. This reduces soot and prevents uneven burning.
Recipe 2: Nutmeg Wax Melts
Difficulty: Beginner
Prep time: 20 minutes active, plus 2 hours setting
Yield: Approximately 18 to 24 individual wax melt cubes (depending on mold size)
Wax melts are even more forgiving than container candles. No wick, no burning, no flash point concerns during use. You simply place a cube in a wax warmer and let the gentle heat release the scent. This makes them an appealing option for households that prefer flameless fragrance.
Ingredients
| Ingredient | Amount | Notes |
|---|---|---|
| Paraffin-soy blend wax or IGI 4630 paraffin (melt-specific grade) | 16 oz (454 g) | A harder wax is preferred for melts; pure soy can be too soft for easy mold release |
| Nutmeg fragrance oil | 1.25 oz (35 g) | Approximately 8% fragrance load |
| Vanilla fragrance oil or absolute (optional) | 0.3 oz (8 g) | Rounds out the spice note; keep the combined total under 10% of wax weight |
| Dye chips or liquid candle dye (optional) | To preference | Warm amber, burnt sienna, or ivory look beautiful with nutmeg |
Step-by-Step Instructions
- Melt wax using a double boiler to 180°F (82°C). Stir until fully liquid and smooth.
- Add dye and stir for one minute.
- Cool to 165°F (74°C) before adding fragrance. Stir in the nutmeg fragrance oil and optional vanilla for two minutes.
- Pour into molds at around 150°F (65°C). Silicone clamshell molds or individual cavity molds work best. Fill to just below the rim.
- Allow to set at room temperature for at least two hours. Do not refrigerate. Cold-setting can cause cracking in paraffin blends.
- Unmold. Pop melts out of the mold. They should release cleanly. If they stick, place the silicone mold in the freezer for five minutes, then try again.
Variations and Substitutions
Using Nutmeg Essential Oil Instead of Fragrance Oil
You can substitute part of the nutmeg fragrance oil with true nutmeg essential oil, but keep a few things in mind. Nutmeg essential oil has a lower flash point than many synthetic fragrance oils, so the temperature discipline described above becomes even more important. Add essential oil no higher than 150°F (65°C). Also note that essential oils generally produce a softer scent throw in candles compared to fragrance oils, because many of the lighter aromatic molecules evaporate quickly during pouring. A practical approach is to use 70% nutmeg fragrance oil and 30% nutmeg essential oil for a more complex, naturalistic scent with reliable throw. For more ideas on working with this oil in different home contexts, see our guide on how to use nutmeg essential oil at home.
Scent Blending Ideas
- Nutmeg and orange: Add 0.5 oz sweet orange fragrance oil for a citrus-spice kitchen candle.
- Nutmeg and clove: A classic pairing. Use a ratio of 70% nutmeg to 30% clove bud fragrance. Keep the total within your fragrance load limit.
- Nutmeg and sandalwood: A warmer, woodier profile. Works particularly well in the wax melt format for evening ambiance.
- Nutmeg and vanilla: The most universally appealing combination in this lineup. Sweet, round, and deeply comforting. If you enjoy this pairing, the same fragrance harmony appears in our nutmeg and vanilla body scrub recipe.
Wax Type Substitutions
- Coconut wax: A premium, slow-burning option with excellent fragrance throw. Melt point is slightly lower than soy; adjust pour temperature accordingly.
- Beeswax: Naturally honey-scented. It pairs interestingly with nutmeg, but the strong beeswax note can compete with your fragrance blend. Best used as a small percentage (10 to 20%) blended with soy.
- Paraffin blends: Paraffin holds fragrance oil well and produces a strong cold throw. It is a perfectly functional choice if you are less focused on plant-derived ingredients.
Storage Instructions and Shelf Life
Finished candles and wax melts store well when kept away from direct sunlight and heat sources. UV exposure causes fragrance oil to discolor and fade faster, so dark or opaque storage is ideal.
- Candles: Store with lids on (if using lidded jars) or covered with a cloth. Shelf life is 12 to 18 months. After that, the fragrance may fade noticeably even before the candle is burned.
- Wax melts: Store in a sealed bag or airtight container to preserve scent. A cool, dark cupboard or drawer is ideal. Shelf life is 6 to 12 months. The wax itself does not go bad, but fragrance intensity diminishes over time.
- Labeling: Always label your homemade products with the date made, the fragrance oils used, and a basic warning that this is a handmade candle or wax product. This is especially important if you give them as gifts.
Troubleshooting Common Issues
Candle top looks rough or bumpy
This is called frosting or mottling, and it is common with natural soy wax. It does not affect scent or burn quality. To minimize it, pour at a slightly higher temperature (closer to 150°F rather than 135°F) and avoid drafts during cooling.
Weak scent throw when burning
The most likely cause is insufficient curing time. Allow at least 72 hours before judging scent throw. If the problem persists after full curing, increase fragrance load slightly (up to 10% maximum) on your next batch, or consider switching to a fragrance oil with a higher concentration of base notes, which tend to perform more reliably in wax.
Wax is pulling away from the jar sides
This is called wet spots and is a cosmetic issue only. It happens when the wax cools unevenly. It has no effect on burn quality. Warming the jars slightly before pouring (place them in a low oven at 150°F for five minutes) can reduce this.
Fragrance oil pooling at the bottom
This means the fragrance was not stirred in long enough, or the wax was too cool when fragrance was added. Always stir for a full two minutes and add fragrance within the 165°F to 150°F window.
Going Further with Nutmeg
Once you have the spice-in-wax technique down, it is natural to want to bring that same warm nutmeg scent into other parts of your home routine. The same essential oil that scents a candle beautifully also works in personal care applications, from beard conditioning to skin-focused rituals. Our DIY nutmeg beard oil and aftershave splash guide covers those applications with full dilution guidance and sourcing notes.
The nutmeg candle recipe above and the wax melt variation are genuinely achievable on a first attempt. Start with a small test batch of two candles before committing to a full pour. Keep notes on your temperatures, fragrance loads, and curing times. Candle making rewards consistency, and once you find a formula that works in your environment, it is very repeatable. The nutmeg fragrance oil you choose will do most of the sensory work. A quality sourced oil makes a meaningful difference in the final result, so it is worth spending a little more on that single ingredient.